
Use Your Own Image for Your User Account Windows 8
You are not stuck with Microsoft Windows 8’s choices of picture for your user account. here is a way to use any picture you desire.
The Windows graphic for your user account on the Start menu may not be to your taste. You can put any picture there you want, as long as it is in the gif, .jpg, .png, or .bmp format. Always remember, though, that .bmp files may cause your system to load more slowly because .bmp files tend to be very large.)
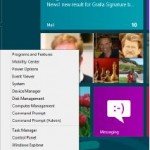
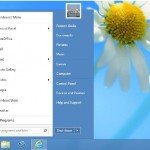
On the Windows Start screen, click your user account name and select “Change account picture” from the drop-down menu (See image below).

Changing your account picture
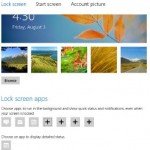
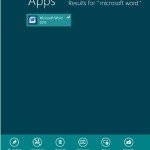
You are sent to the Personalize section of the computer settings area; specifically, to the “Account picture” setting screen (See image below).
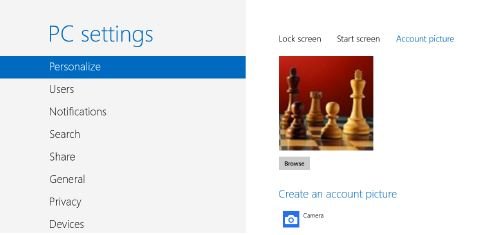
Command Central for changing your account picture
If you are using a device with a camera, at the bottom of the screen under “Create an account picture,” you will see a camera icon. Click the camera, and the Microsoft Windows 8 Camera Application launches. Look at the camera, smile, say “cheese”, and click your mouse. A square appears on your screen. Reposition the square and resize it, and if you have got the picture you want, click OK. If you are not happy with it, click Retake. When you click OK, you are sent back to the PC Settings screen for setting your account picture. The picture shows up as your new account picture, and your old picture shows up below it (See image below).

The new account picture in the Settings area
If you’d like to revert to your old account picture (not a bad idea if you have taken a photo like I did), click it. Otherwise, keep it. Your photo now shows up as your account image. It is also used on the logon screen, the Start screen, and surely any place that consumes Microsoft Account information.
Maybe you are not feeling particularly photogenic, or you have some pictures you’d like to use for your account. You can alternatively use a picture or photo on your computer, on SkyDrive, or on your network. Use following steps to do it.
- On the “Account picture setting” screen
- Click Browse
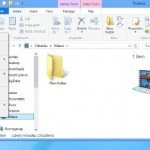
- Your local Pictures folder opens
- Select a picture from there, or keep browsing for even more
- Click “Go up” to navigate to the folder above that folder, which is the Libraries folder
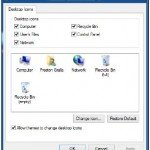
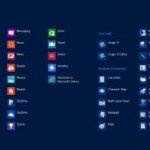
From this point, you can navigate to other folders. Rather than selecting “Go up,” you can click Files to see even more folders to navigate to. If you are looking for photos in SkyDrive, scroll down and click the SkyDrive icon. You can even navigate to folders on other computers on your network by using these navigational tools. Your best option for finding pictures is in the Photos folder (See image below), because this shows photos from multiple locations—on your PC, on SkyDrive, on other devices on your network, and on Facebook.

Browsing through your network for pictures to use for your account picture
Click the picture you want to use as an account picture, then select “Choose image.” you will be back on the Account Picture setting screen, and that photo will be your new account picture. Below it, you will see other account pictures you have used (See image below).

Account picture interface
Click any of those images to use it instead. If you want to get rid of all the pictures other than your current account picture, rightclick any image just above the Browse button and select Clear History. All of the images in this window will go away, along with their cropping configurations. (They will not be deleted from wherever you got them, just cleared from this display screen.)
You May Want to See :
-
 Tweak Windows 8 Start Screen
-
 Bring Back the Quick Launch Toolbar to the Desktop
-
 Enable Start Menu for Windows 8 Without Using Software
-
 Put a Tile to Computer on the Start Screen
-
 Make the Desktop More Tablet-Friendly
-
 Speed Up Windows 8 Boot Time
-
 Use the Built-In Mini Start Menu Windows 8
-
 Create an Application Folder for Quick Launches on the Desktop and the Start Screen
-
 Run the Desktop and Window 8 Native applications Side by Side
-
 Run Microsoft Windows 8 Native applications Side by Side
-
 Disable / Bypass Windows 8 Lock Screen
-
 Modify Windows 8 Lock Screen
-
 Put Helpful Navigation Icons on the Desktop
-
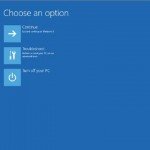 Accessing Windows 8 System Recovery Console
-
 Enable the Classic Windows Start Menu to Microsoft Windows 8
-
 Add Folders and Other Objects to the Start Screen
-
 Force Desktop applications to Show up on the Start Screen
-
 Enable the Microsoft Windows 8 All applications Screen
-
 Sync files with OneDrive
-
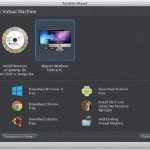 Installing and Running Windows on a Mac
-
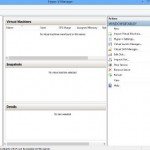 Run Multiple OS Inside Windows 8 Using Hyper-V


