
Put a Tile to Computer on the Start Screen
Do you miss having one-click access to the Computer folder in Windows 8? Here’s how to put a tile to it on the Start screen.
Here’s a guide for everyone who desires to get to the Computer folder in Microsoft Windows 8 quickly. it is simple to do.
- Open File Explorer
- Go to C:\Users\User Name\AppData\Roaming\Microsoft\Windows\Start Menu\ where User Name is your account in Windows.
- You should see the \Programs folder.
- Right-click the directory
- Choose Create Shortcut
- The shortcut created will be called Programs – Shortcut
- Right-click it
- Select Properties
- Click the Shortcut tab
- In the Target box, remove what’s there, and instead type this:
C:\Windows\explorer.exe explorer.exe /root,,::{20D04FE0-3AEA-1069-A2D8- 08002B30309D}
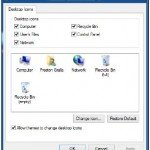
- Go to the General Tab
- Rename the shortcut Computer
- Then click OK (See image below)
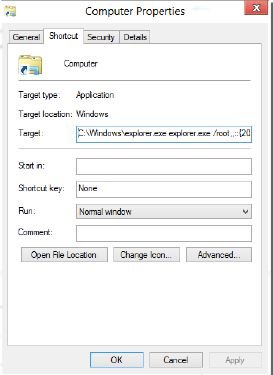
Creating a shortcut to Computer
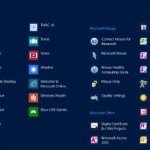
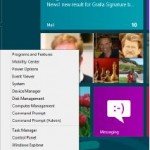
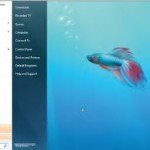
After you’ve finished, A tile to launch Computer then appears on the Start screen (See image below).

The Computer tile on the Start screen
More On…
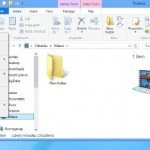
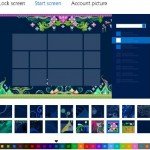
If you would like, you can modify the tiles icon on the Start screen. Using File Explorer, right-click the shortcut you have created on the Desktop, select Properties, and go to the Shortcut tab. Click Change Icon, and select an icon.
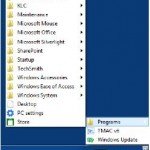
Selecting an icon to appear on the tile
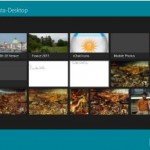
That becomes the picture on the tile.
The new icon on the tile on the Start screen
You May Want to See :
-
 Tweak Windows 8 Start Screen
-
 Add Folders and Other Objects to the Start Screen
-
 Enable Start Menu for Windows 8 Without Using Software
-
 Create an Application Folder for Quick Launches on the Desktop and the Start Screen
-
 Bring Back the Quick Launch Toolbar to the Desktop
-
 Use the Built-In Mini Start Menu Windows 8
-
 Customize Tile Groups and Start Screen Theme Windows 8
-
 Force Desktop applications to Show up on the Start Screen
-
 Use Your Own Image for Your User Account Windows 8
-
 Change Folders in the Open Dialog Box
-
 Put Helpful Navigation Icons on the Desktop
-
 Modify Windows 8 Lock Screen
-
 Make the Desktop More Tablet-Friendly
-
 Disable / Bypass Windows 8 Lock Screen
-
 Run Microsoft Windows 8 Native applications Side by Side
-
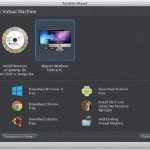 Installing and Running Windows on a Mac
-
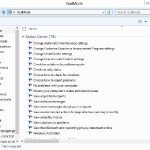 Enable Windows “God Mode” on the Desktop
-
 Run the Desktop and Window 8 Native applications Side by Side
-
 Optimize the Start Menu
-
 Controlling Live Tile Behavior Windows 8
-
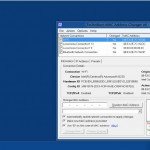
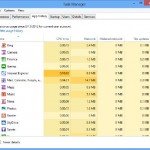 Use the Task Manager to keep track of Application Use


