
Best way to light a chocolate scene
In general, when we imagine a world made of chocolate, we imagine something very soft and inviting with wonderful warm lighting. I tried to capture these qualities in this project. Begin by modelling the largest deformations in the surface of the chocolate.
 Once these are set up, you can add smaller details by assigning multiple irregular bump or normal maps. For this piece I searched on the web for images of splashes and spilled liquids, then converted them to black and white to use as bump maps; and painted additional maps by hand. I also added a procedural bump in the same channel to simulate surface irregularities better.
Creating a good model is important, but in this piece, the lighting is vital. Put a warm key light into the scene, calling it ‘Sun’. This will be responsible for 40 per cent of the illumination in the scene, and for the overall light direction and shadow type – soft, in this case. A further 30 per cent of the illumination is global lighting created by a HDRI file.
This helps illuminate the shadows. Another 20 per cent will be created by a white light called ‘Fill Light’ positioned in opposition to the sun. This will help give more depth to the volumes. The remaining 10 per cent affects only the specularity in the scene, which helps to define the profiles of objects visually.
You May Want to See :
-
 Create A 3D Chess Set with Photoshop
-
 How to Invert Image In Photoshop Lightroom
-
 Reveal everything with shadows and highlights using Photoshop
-
 Create A Seamlessly Repeating Pattern
-
 Make a Photo Look Old
-
 Create Geometry Effects Photoshop
-
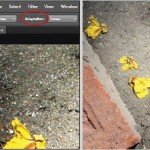 Simple way to remove object inside picture using Adobe Photoshop
-
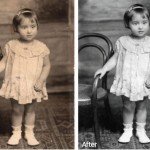 Repair Old Photo and Image Using Photoshop Elements 12
-
 Manage Your Photos From Capture to Output in Three Stages
-
 How to Process RAW Files in Adobe Camera Raw
-
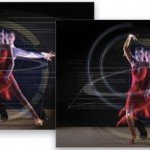
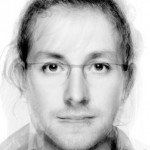 Blend faces together
-
 Zeiss Otus 55mm f/1.4
-
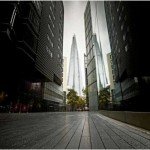
 How to create 3D urban City model
-
 PC Specialist Trion 960
-
 Manage Large CSS Projects With ITCSS
-
 ASUS ROG SWIFT PG278Q
-
 Essential Photography Tips & Tricks
-
 BenQ F5
-
 Panda Global Protection 2014
-
 Philips 55PFS6609
-
 Build A Progressive Web App Using Service Workers


