
How to create 3D urban City model
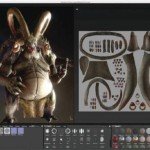
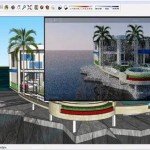
Creating a city 3d model can be done easily by CityEngine. Esri’s CityEngine is a standalone software product that provides professionals working in architecture, urban planning or entertainment with a unique conceptual design and modelling solution for creating 3D cities. CityEngine is rule-driven, so applying it to different design scenarios is as easy as changing rule parameters.

3D city model by Esri
To set up your project, go to Layer>New Map Layer>Texture. Browse the textures of city maps for the file you want to use to create your city. Don’t forget to assign the base texture of your map using the City Wizard.
To create roads, press [G] to activate the Polygonal Street Creation tool, then click on the map to draw roads. If you think the roads are too big in size, scale up the map to match them. After connecting the roads, the base layout should be complete. Now it’s time to generate the city. Right-click any element in the group, choose Select Objects of Same Group from the contextual menu, then right-click again and select Assign Rule File. You can click on the default textured_city_day.cga Rule File and click Generate from the top panel to create the city file.
The buildings are created using ready-made textures. Some work will be required to get the result you want. This could be as simple as fine-tuning the parameters used. I usually change the building types and building heights by changing Rule Parameters from the right-hand corner menu. You can even change the day texture to night.
Once you are happy, export the model of the city to Maya or your 3D software of choice as an .obj file.
You May Want to See :
-
 Create A 3D Chess Set with Photoshop
-
 Create A Seamlessly Repeating Pattern
-
 Substance Painter
-
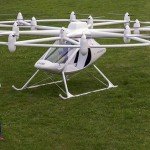 Volocopter, an electrically powered VTOL aircraft
-
 Finding Vulnerabilities In Network Systems
-
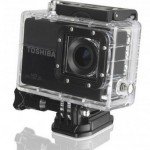 Toshiba Camileo X-Sports
-
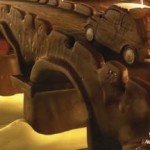 Best way to light a chocolate scene
-
 Access Microsoft Windows 8’s Power Search Tools
-
 JixiPix Artista Impresso
-
 ASUS Fonepad 7 (FE170CG)
-
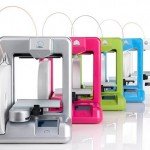
 Top 3D Printers Budget Options
-
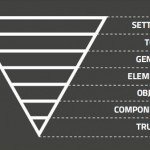 Manage Large CSS Projects With ITCSS
-
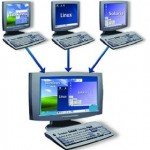 Tools You Need For Virtualisation
-
 Simple Way to Encrypt Files
-
 CrossOver to support DirectX 11
-
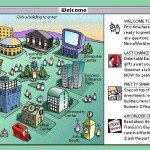 Remembering eWorld, Apple’s Forgotten Online Service
-
 Viveza 2
-
 3D Printing Materials Guide
-
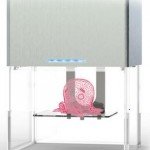
 Cancer modelled in 3D for first time
-
 What you should know before begin 3d printing
-
 Visualizer 1.1 for SketchUp


